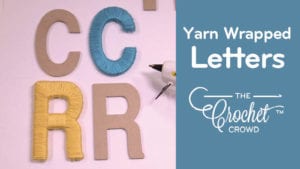
Yarn Wrapped Letters
Yarn wrapping pre-cut letters is a bit of a challenge at first until you get into the swing of it. I couldn't get the good shape on my own through cardboard, so I went to the craft store and picked me up some letters to play with.
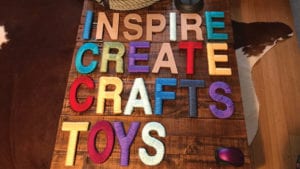
I've always wanted to something like this but have been intimidated by the process of yarn wrapping each letter strategically. Wrapping letters takes approximately 20 - 30 minutes per letter depending on the complexity of the letter. Clearly, the longer the word, the more time investment is required but is so worth it.
For my letters, I used Caron Simply Soft Yarn. The yarn has lustre and somewhat shines in the light. It really makes the letters pop in appearance.
Things to Look For:
- Get letters that lots of straight edges.
- Get a hot glue gun to tack the yarn in strategic places to avoid the wrap from slipping off near the edges.
- Examine each letter prior to wrapping to determine if you have to make a faux edge or whether you can directly wrap without worry. Faux edges would appear on letters like Y, S, C and R for example.
- Faux edges are created when you physically wrap the letters due to curves that prevent the wrap from sliding off.
- Concentrate on the look on the good side of the letter. The back side, you can jump areas but you want a consistent wrap appearance on the front. I'm suggesting you mark the entire backside with a highlighter line. As you wrap, you will cover over the UPC Code Tags and certain letters like O, T, A and I, for example, you won't be able to tell the good side from the back as the letter looks the same from both sides.
The tutorial below takes you through the steps.
Peggy L Drake says
What a great way to use yarn that might not work for other project. Kids could do this for Holiday gifts.